Week 2

Project Management

1. Designing Personal Website (Web Development)

Brief Overview

I had little experience with text-based programming but have been using visual programming languages for quite some time, hence I preferred to use Adobe Dreamweaver: a GUI based web development based platform, to create my website. The underlying theme was to create a simple, minimal yet interactive website using various tools. Also, I got accustomed to various html and css codes to design the website.

Step 1


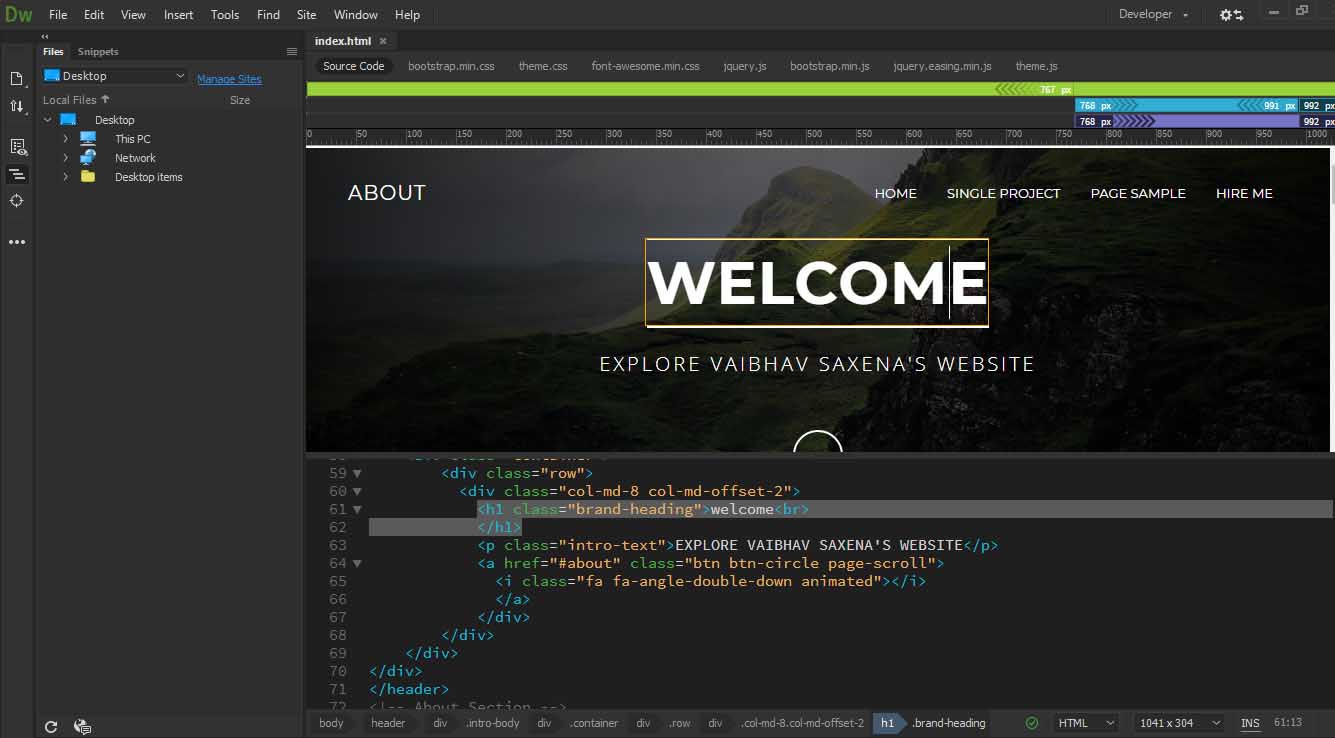
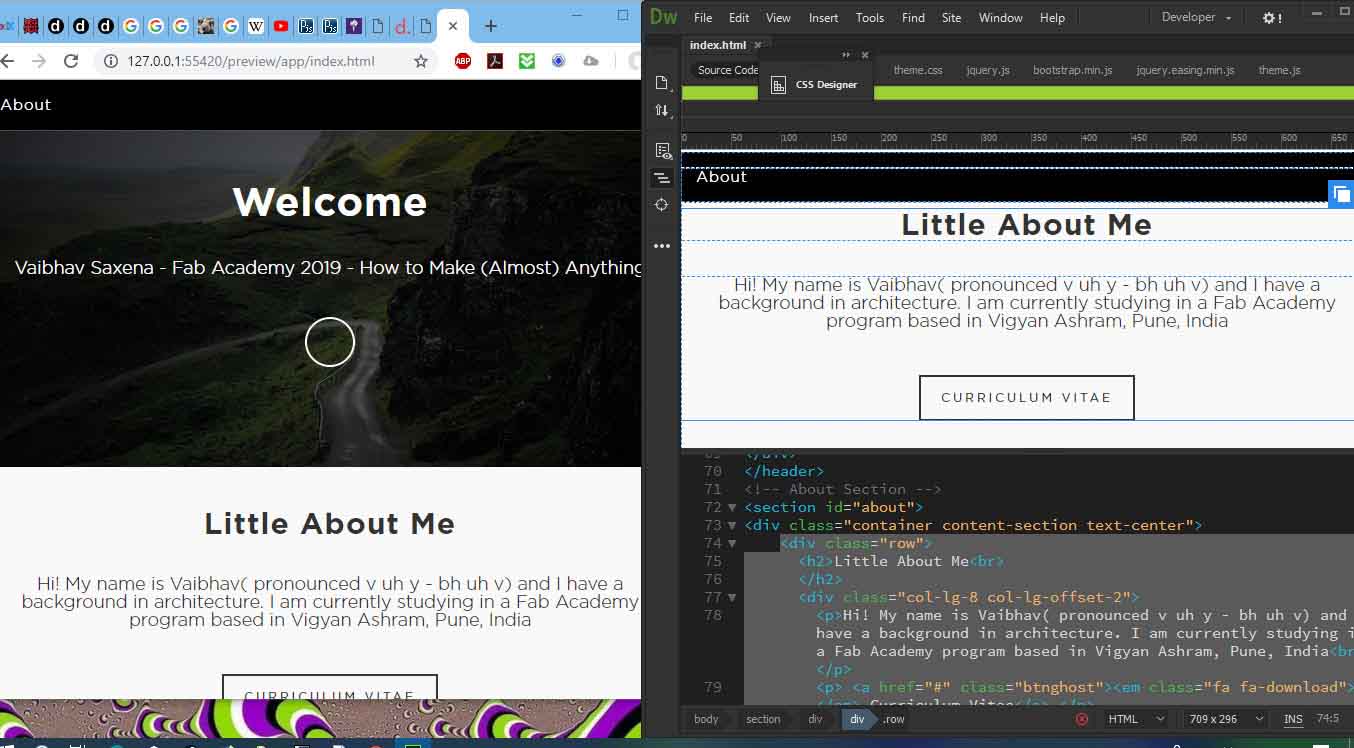
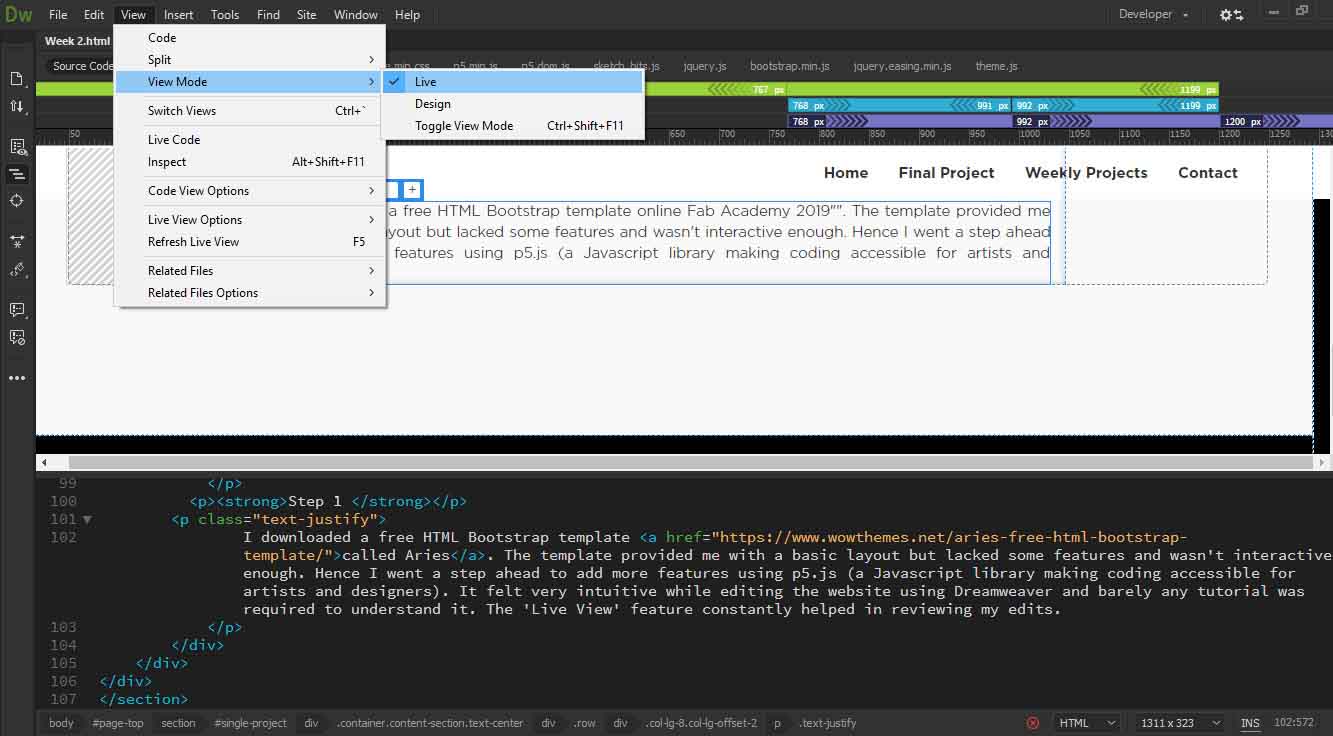
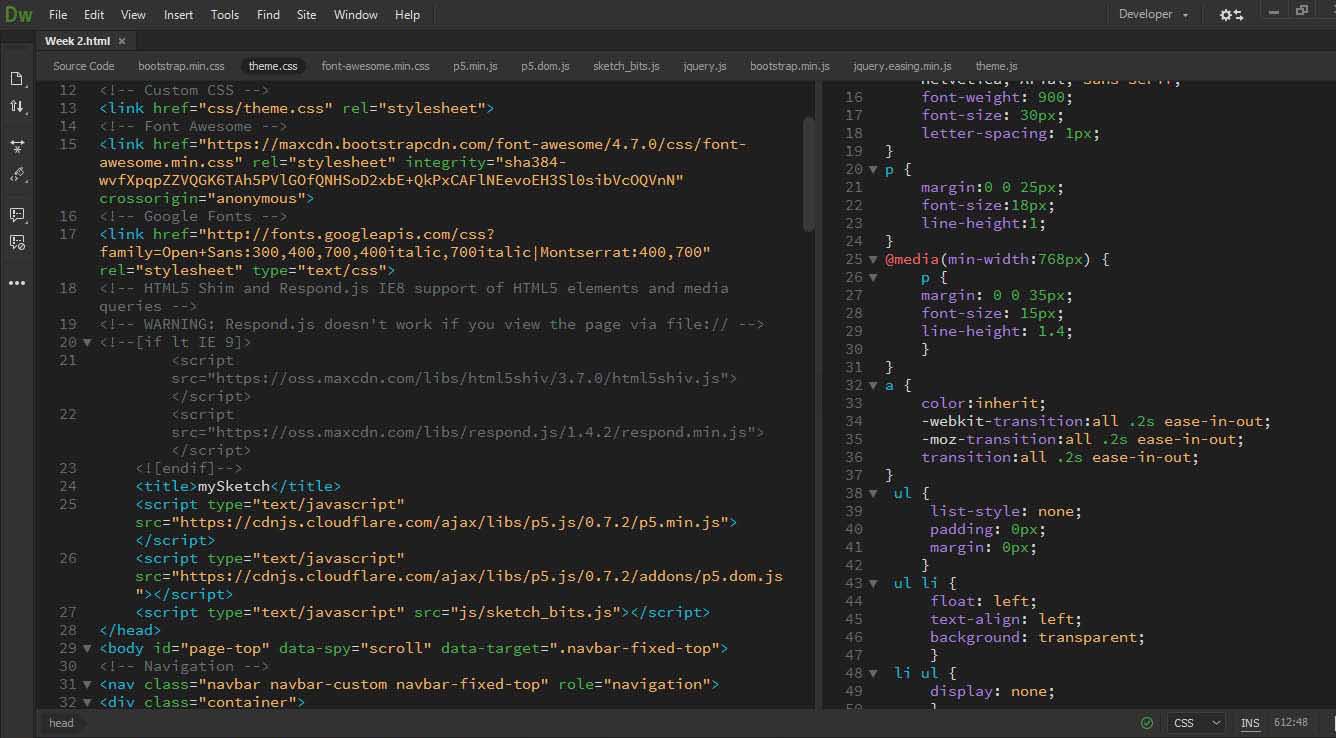
I downloaded a free HTML Bootstrap template called Aries. The template provided me with a basic layout but lacked some features and wasn't interactive enough. Hence I went a step ahead to add more features using p5.js (a Javascript library making coding accessible for artists and designers). It felt very intuitive while editing the website using Dreamweaver and barely any tutorial was required to understand it. The 'Live View' feature constantly helped in reviewing my edits on the web browser. Also, the upper tab displays various files linked to the html file, hence making it easier to go back and forth while making changes. W3schools.com online tutorials were helpful in adding new html and css tags to further enhance the website.

Step 2


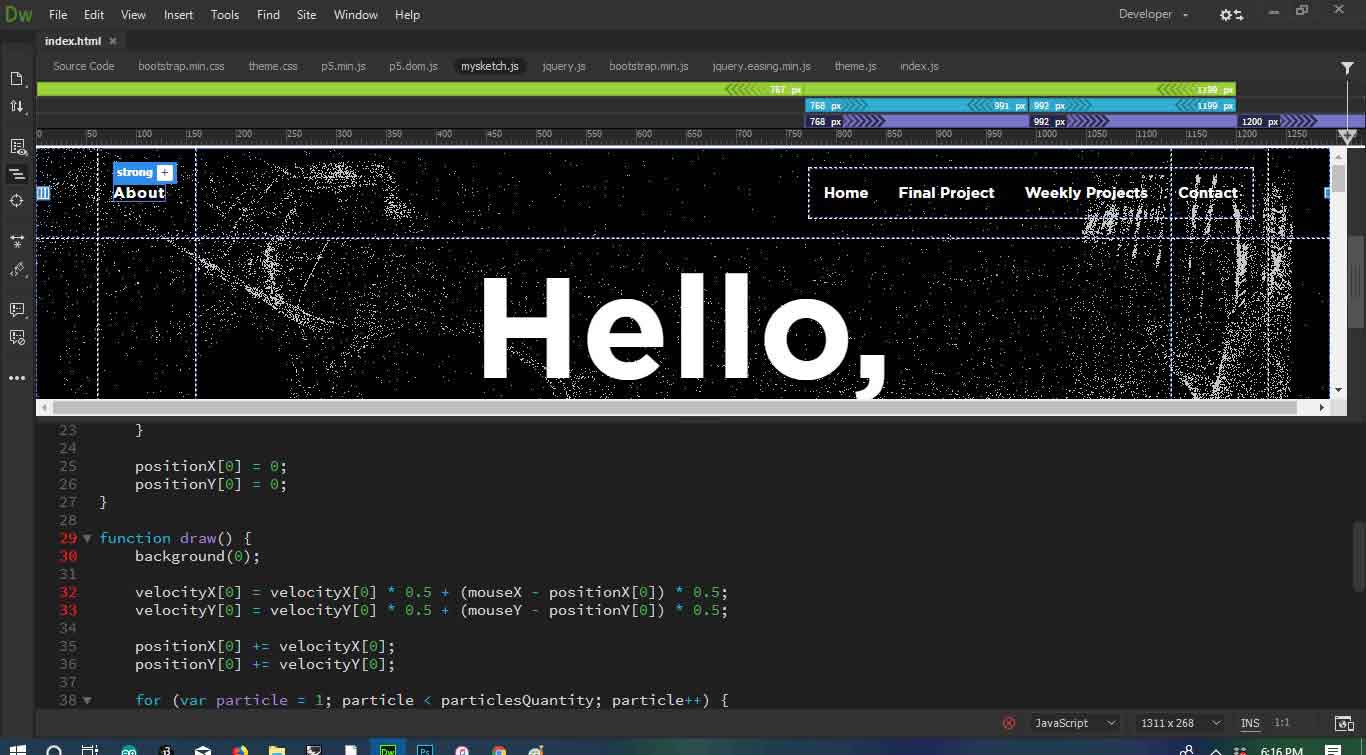
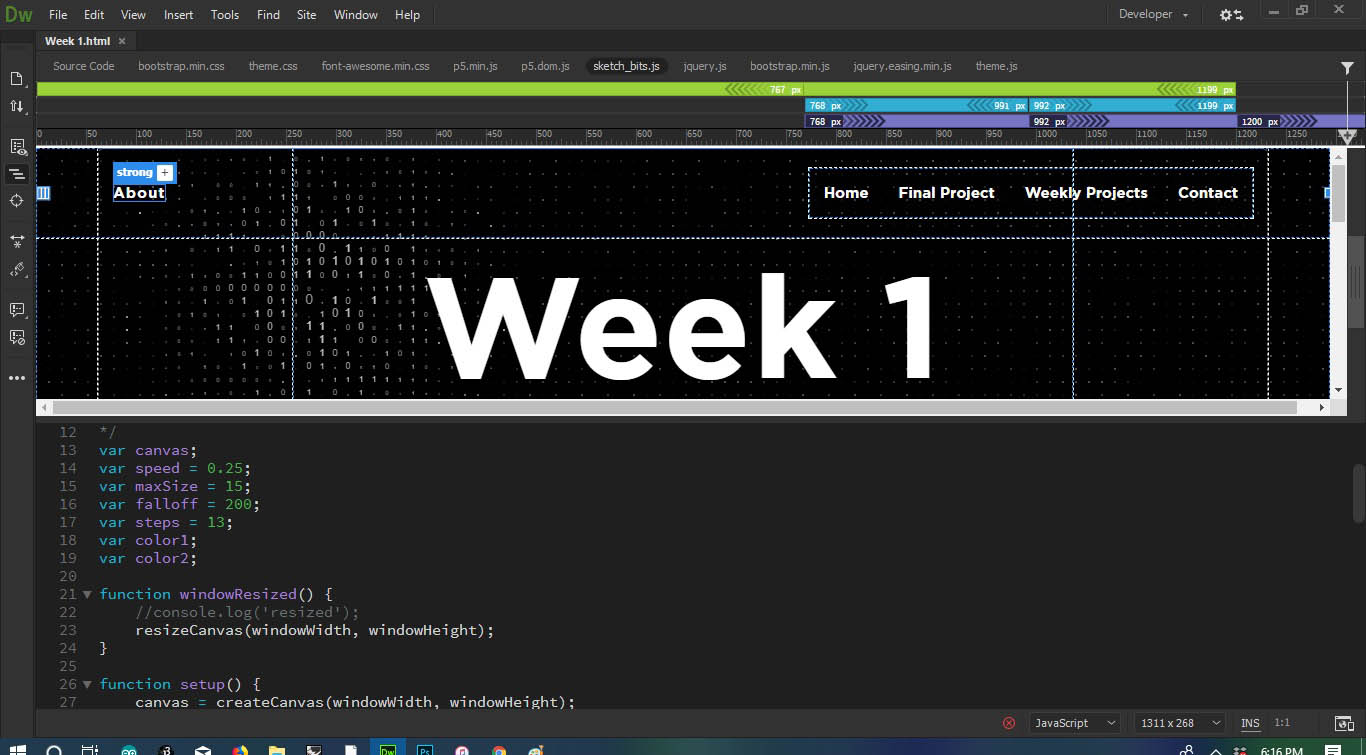
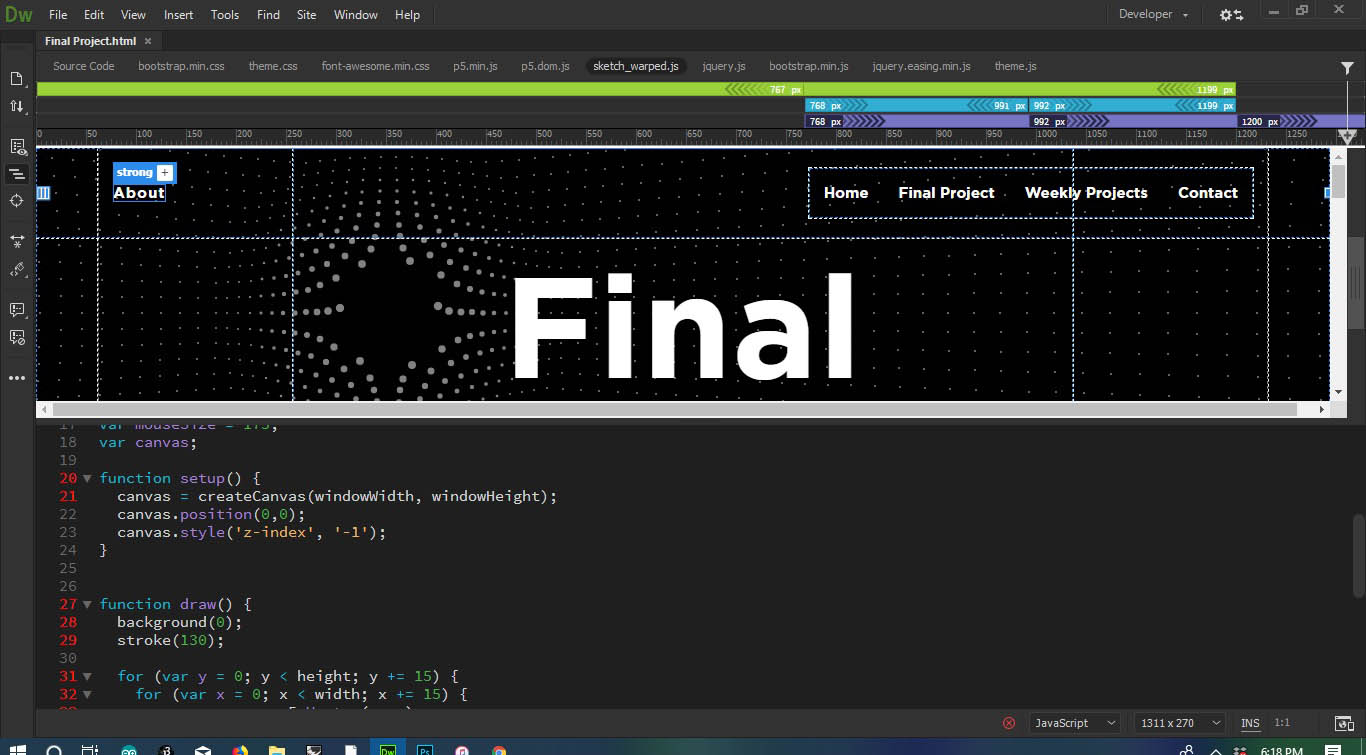
Every page has a distinctive interactive background using p5.js. Home page follows a theme of interactive particles based on the position of the mouse(original sketch by Konstantin Makhmutov). Weekly Projects page follows a theme of interactive 0s and 1s (bits) based on the position of the mouse (original sketch by Jason Labbe). All the sketches were further manipulated to adjust to the website. The website of p5.js illustrates lot of interactive examples and references for additional help.

Learnings

One of the major learnings was to keep the flow of the website(UI) simple and interactive, without fuss. While reworking the website upside-down, I learnt various methods of referencing, hyperlinking creating classes and working with CSS styles. I also successfully integrated various p5.js sketches into the webpage. Finally, identifying and addressing issues within the code to get desired results was a worthwhile learning experience. Also, there is one issue that I have to solve: the interactive p5.js sketch of my image on the About page isn't working.

2. Git(version control): Setup and Tutorial

Brief Overview:

I never came across Git previously but it came as a surprise to me that having previously worked with Dropbox and Google Drive, the underlying concept is the same i.e. project management, where changes can be tracked and performed by an individual or a group of people. I used GitBash to run Git from the command line.

Steps


After installing GitBash, the account setup in Git started with generating the SSH key that only allows my computer to perform changes in my repository on the Git server. To generate the SSH key, open the Git Bash application from your computer and type the command:

ssh-keygen -t rsa -C "your.email@example.com" -b 4096

.

The command:
cat ~/.ssh/id_rsa.pub | clip

copies the key to the clipboard and then has to be pasted into the SSH key section of your Gitlab profile. To ensure whether the client is running or not we run the command:

ssh -T git@gitlab.fabcloud.org

A message Welcome to GitLab,"yourname" should appear to ensure successful connection.Next we choose a desired location(folder) on our laptop to clone the Git repository locally and right click in that folder and click "Git Bash here", which opens the command window. To initiate the cloning locally, we copied the Git Repository link from the my GitLab profile and executed the command:

git clone git@gitlab.fabcloud.org:academany/fabacademy/2019/labs/vigyanashram/students/vaibhav-saxena.git

After cloning, we will find our GitLab folder locally in our desired root folder.The root folder consists of the contents of the website locally. Next step is to configure the Git, using the commands:

git config --global user.name "yourname"
git config --global user.email "youremail" git

The command cd is used to navigate to the destination root folder. Next four commands will be the most used ones while using Git.

git pull downloads my repository to the root folder from the Git server
git add --all adds all the changes in the local repository
git commit -m "message" mentions the changes along with a personalized message, for future editing
git push publishes all the changes from local repository to Git repository


Learnings

All the commits can be tracked in the Git rspository and incase unwanted changes have been made, it could be reverted back. This is almost similar to "restore point" function in Windows. I also realized that it is better to "commit" only when the changes that have made are final for that week, since it is really difficult to delete anything once published from the Git repository.